The File Manager is the tool you’ll need to handle your cPanel’s basic files. You can use it to create files and directories, assign permissions, and so on, in addition to uploading and removing files.
It essentially performs the same functions as an FTP client, though it is not as efficient.
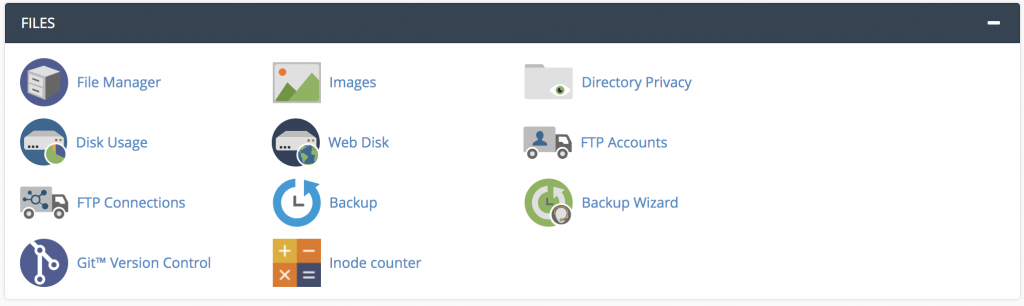
Step 1: How to Locate the File Manager
You should be able to locate the File Manager once you’ve signed into your cPanel account. It can be found in the Files folder. You can also do a name search.
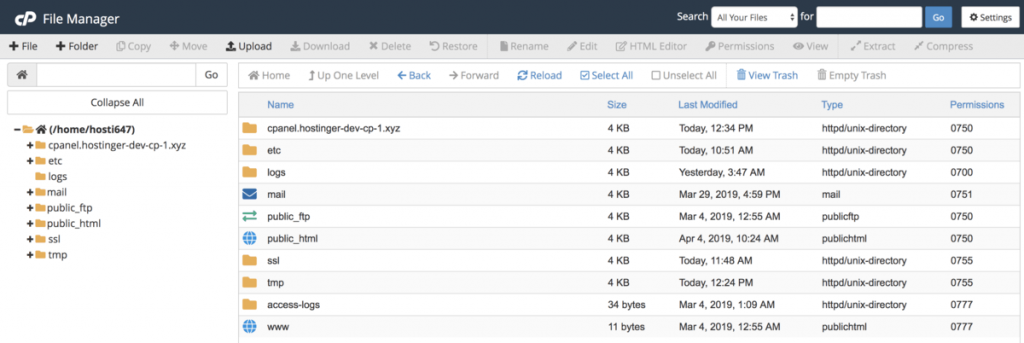
When you first launch the tool, you’ll be taken to a new window with navigation and management options, as well as a directory of your website’s folders and files.
We’ll just deal with the public html folder from now on. The device requires all of the remaining folders to ensure that the cPanel service is functioning properly.
Step 2: How to Operate the File Manager
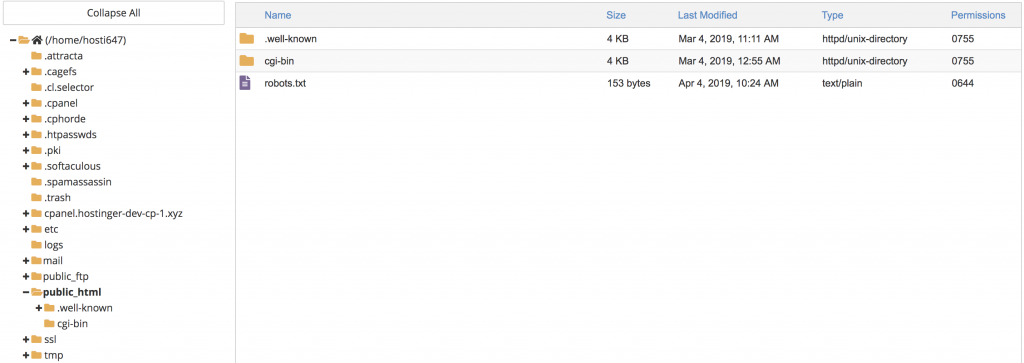
First, there’s a window section with a folder tree on the left and the contents of a folder on the right. By selecting the appropriate folder, you can navigate to it. Clicking the public html folder, for example, will show its contents –.well-known, cgi-bin, robots.txt, and so on.
You can also use the folder tree search function to navigate to a particular folder by typing the full name path and pressing Go.

There are a number of options for navigation:
- Home — when you select it, the Home folder and its contents appear.
- Up One Level — takes you one level higher than where you are now. For example, if you click this while in the cgi-bin folder, it will take you to the public html folder, which is a higher level than the cgi-bin folder.
- Back/Forward — functions similarly to your web browser’s back/forward navigation.
- Reload — To see the updates, refresh the page.
- Select/Unselect All — To select or unselect files or folders
- View Trash — Displays the Trash folder, which contains all deleted files
- Empty Trash — To empty the Trash folder, This option is only available when you’re in the Trash folder.
Step 3 : Making Use of the File Management Option
After learning how to navigate, the next step is to learn how to use the file management features. A toolbar is available to assist you, but most of the functionality can also be accessed by right-clicking on a particular object.

- File – This function allows you to build a new file inside a selected folder.
- Folder – You may use this function to make a new folder.
- Copy – You have this option to copy the selected file to a specific location.
- Move – This feature functions in the same way as Copy. The only difference is that the file will no longer be located in its original position.
- Upload – You can upload a file to your hosting account from this page. You cannot, however, upload folders. You may use an FTP client to upload a folder or a larger file. You have two choices for uploading the file: drag and drop or manually pick the file from your screen. When you’re done, click the Go Back.
- Download – This feature will download the files you want to your screen.
- Delete – The selected file is moved to the Trash folder with this choice. Check the Skip the trash and permanently delete the files box if you want to delete the file permanently.
- Restore – Only when you’re in the Trash folder can you use this feature. You can restore a deleted file to its original folder.
- Rename/Edit/HTML Editor – To edit your files, you’ll need these features. They function similarly to any text editor programme and can be very useful for on-the-go editing. Despite having a WYSIWYG gui, it isn’t as effective as other HTML editors.
- Permissions – To edit your files, you’ll need these features. They function similarly to any text editor programme and can be very useful for on-the-go editing. Despite having a WYSIWYG gui, it isn’t as effective as other HTML editors.
- View – This can be used to view a file, such as an image or the contents of the index.php file.
- Extract/Compress – Compress allows you to store files in Zip, Gzip, or Bzip2 formats. Extract, on the other hand, will extract an archive.
- Settings – You can customise your preferences using this function. You can set the default folder to open anytime you use the File Manager, for example. You can also switch on the Show Hidden Files option (dotfiles).
That’s pretty much all there is to know about cPanel’s File Manager navigation and management functionality.
